

.png)
Floating parquet flooring is popular for its quick installation and excellent value for money. Unlike glued or nailed parquet, it rests on an underlay and the planks are simply joined together.
There are two main types of floating installation:
- Click-system parquet, where the planks lock together mechanically without glue.
- Tongue-and-groove parquet, where the planks are joined using a bead of wood glue applied to the tongue and groove.
Floating flooring can consist of laminate flooring or engineered parquet. Vinyl flooring can also be installed as a floating floor, although it is not generally considered parquet.
In both Belgium and Luxembourg, this solution is particularly suitable for renovating apartments, houses or offices, provided that the correct preparation, installation and expansion requirements are followed.
What is floating parquet flooring?
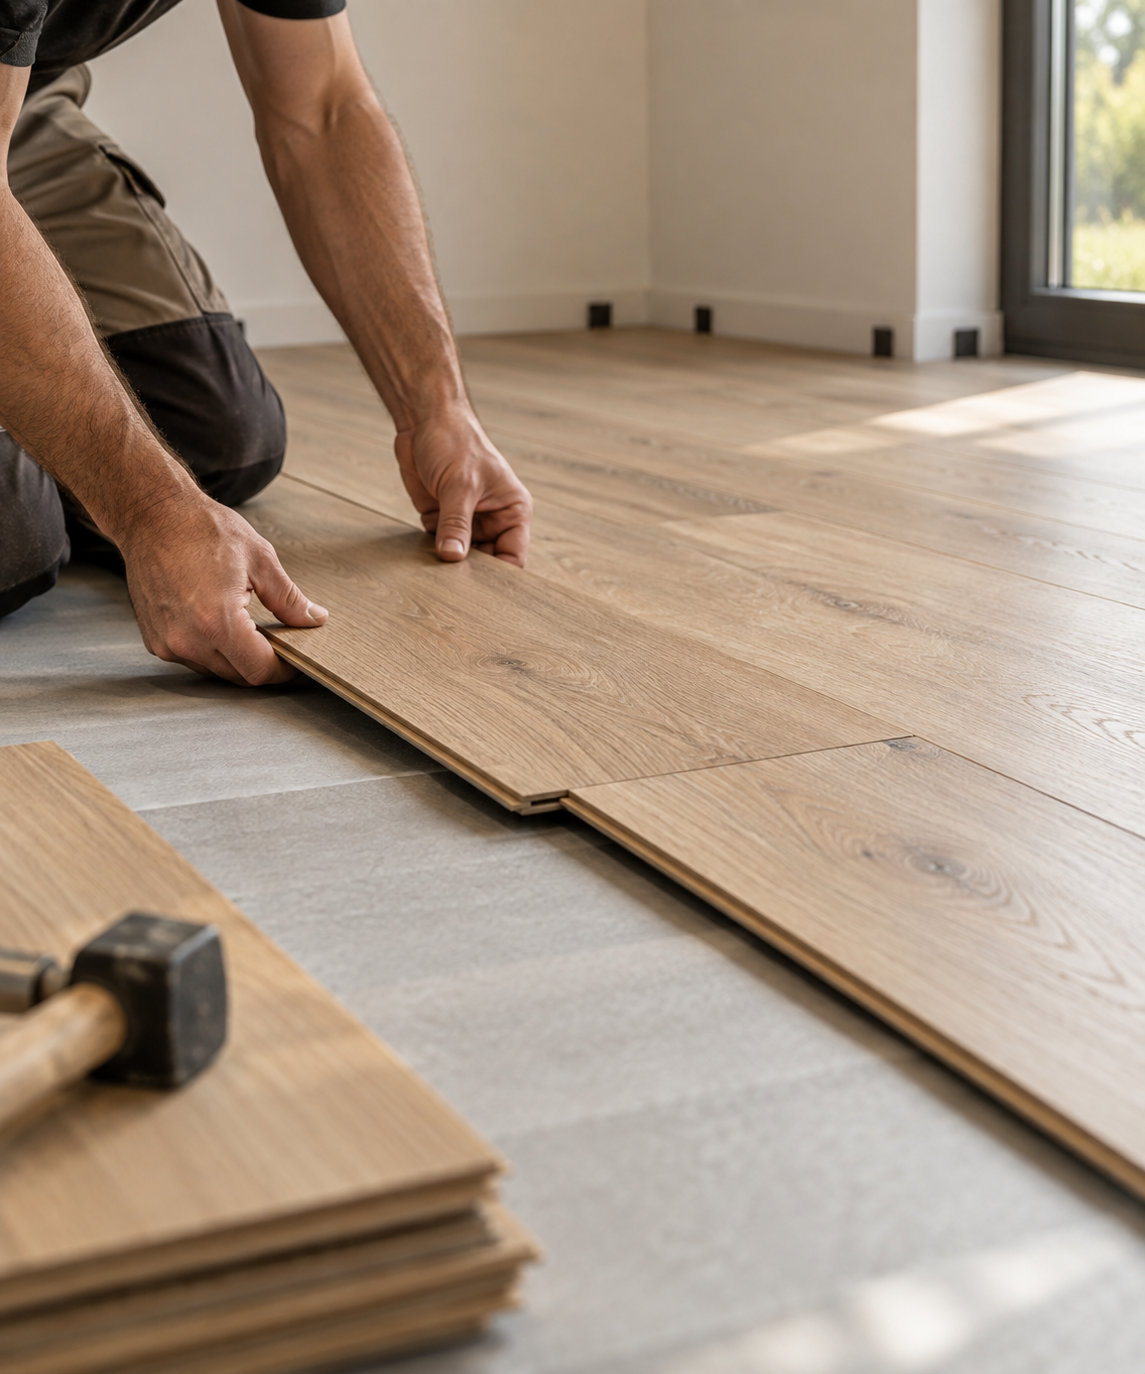
Floating parquet is a floor covering where the planks are neither glued nor nailed to the subfloor. Instead, they are joined together and laid over an underlay, allowing for quick and generally more economical installation.
Depending on the product, the planks can be connected using a click system or joined with a tongue-and-groove system using a suitable adhesive. Floating flooring can be made from laminate or engineered parquet.
This installation method is relatively straightforward and, in some cases, makes the flooring easier to remove than glued-down parquet.
Preparing the floor before installation
Before installation, the planks should generally be left in the room for at least 48 hours. This acclimatisation helps reduce the risk of movement caused by changes in temperature and humidity.
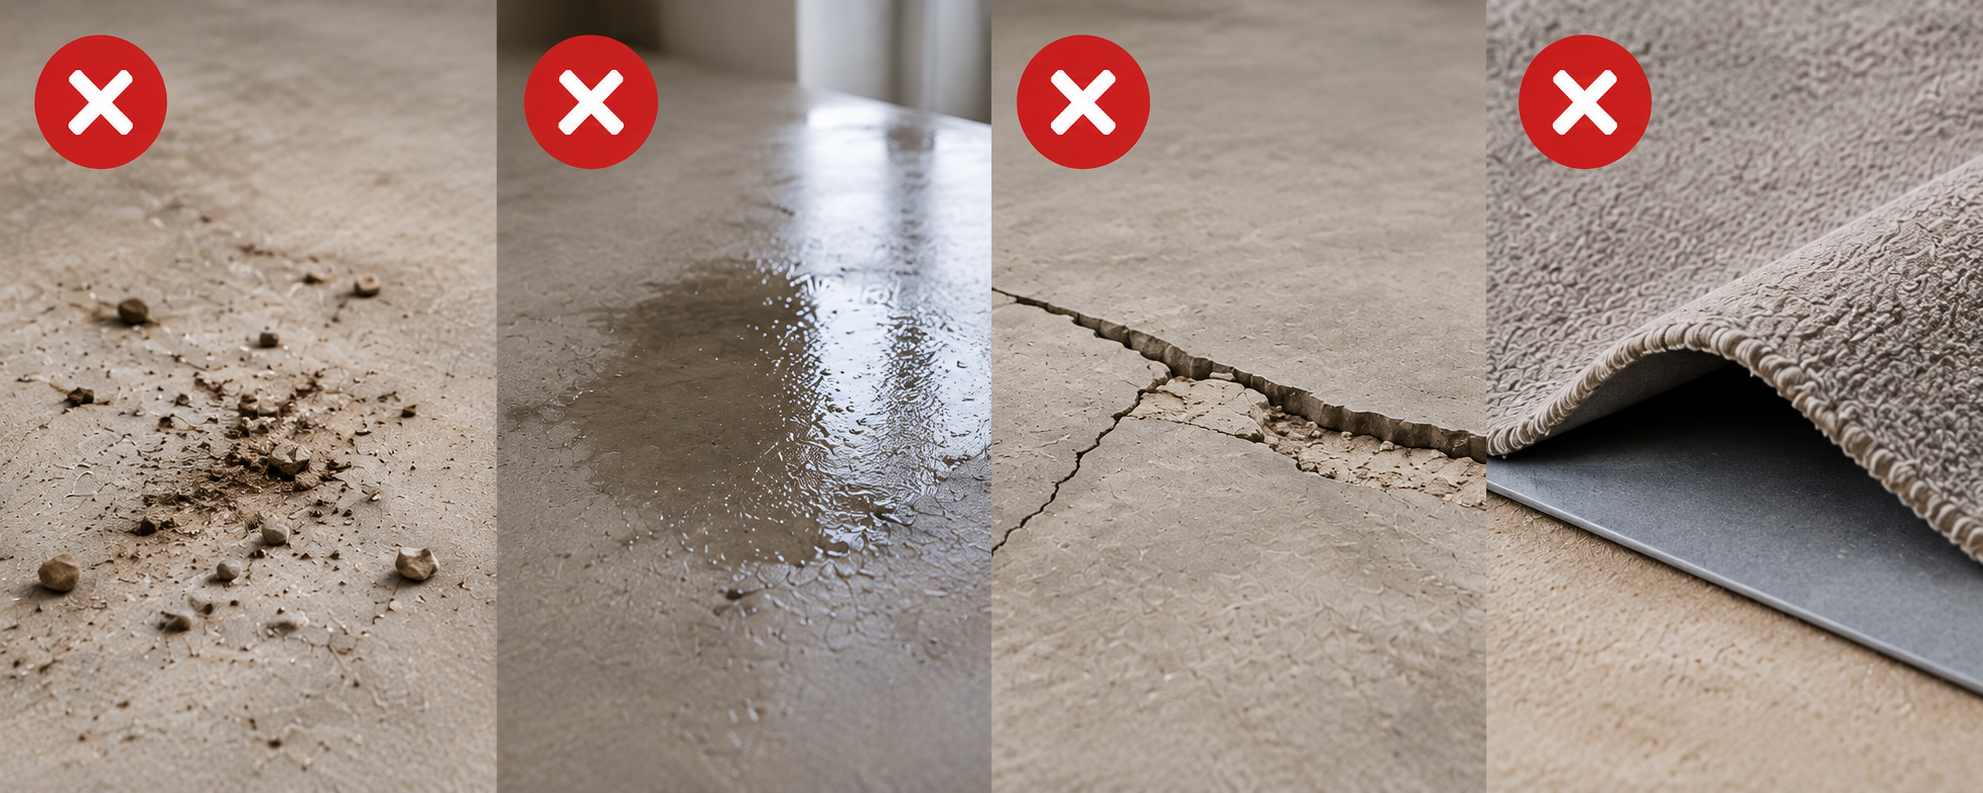
The subfloor must be clean, dry, stable and perfectly level. If there are significant irregularities, a levelling compound is recommended. Carpet or other soft floor coverings should be removed before installation.
Installing the underlay
The underlay improves acoustic comfort, compensates for minor irregularities and can provide additional thermal insulation.
On a concrete slab or ground floor, a vapour barrier may be required to protect the parquet from moisture. The underlay should be laid edge to edge without overlapping to prevent bumps from forming beneath the planks.
Choosing the direction of installation
The planks are generally laid in the direction of the main source of natural light. In a hallway, laying them lengthways can help make the space appear longer.
The first row should be laid along the straightest wall. An expansion gap of approximately 8 mm should be left between the flooring and walls, pipes or door frames.
Installing the floating parquet planks
With a click system, the planks are locked together by inserting one plank into the previous one at an angle and then lowering it into position.
The offcut from the last plank can be used to start the next row if it is at least 30 cm long. Staggering the joints in this way improves both the stability and appearance of the floor.
Cuts can be made using a jigsaw or circular saw. Around pipes, the opening should be slightly larger to maintain the required expansion gap.
Finishing the installation
The final row often needs to be cut lengthways to fit. Once installation is complete, the spacers can be removed.
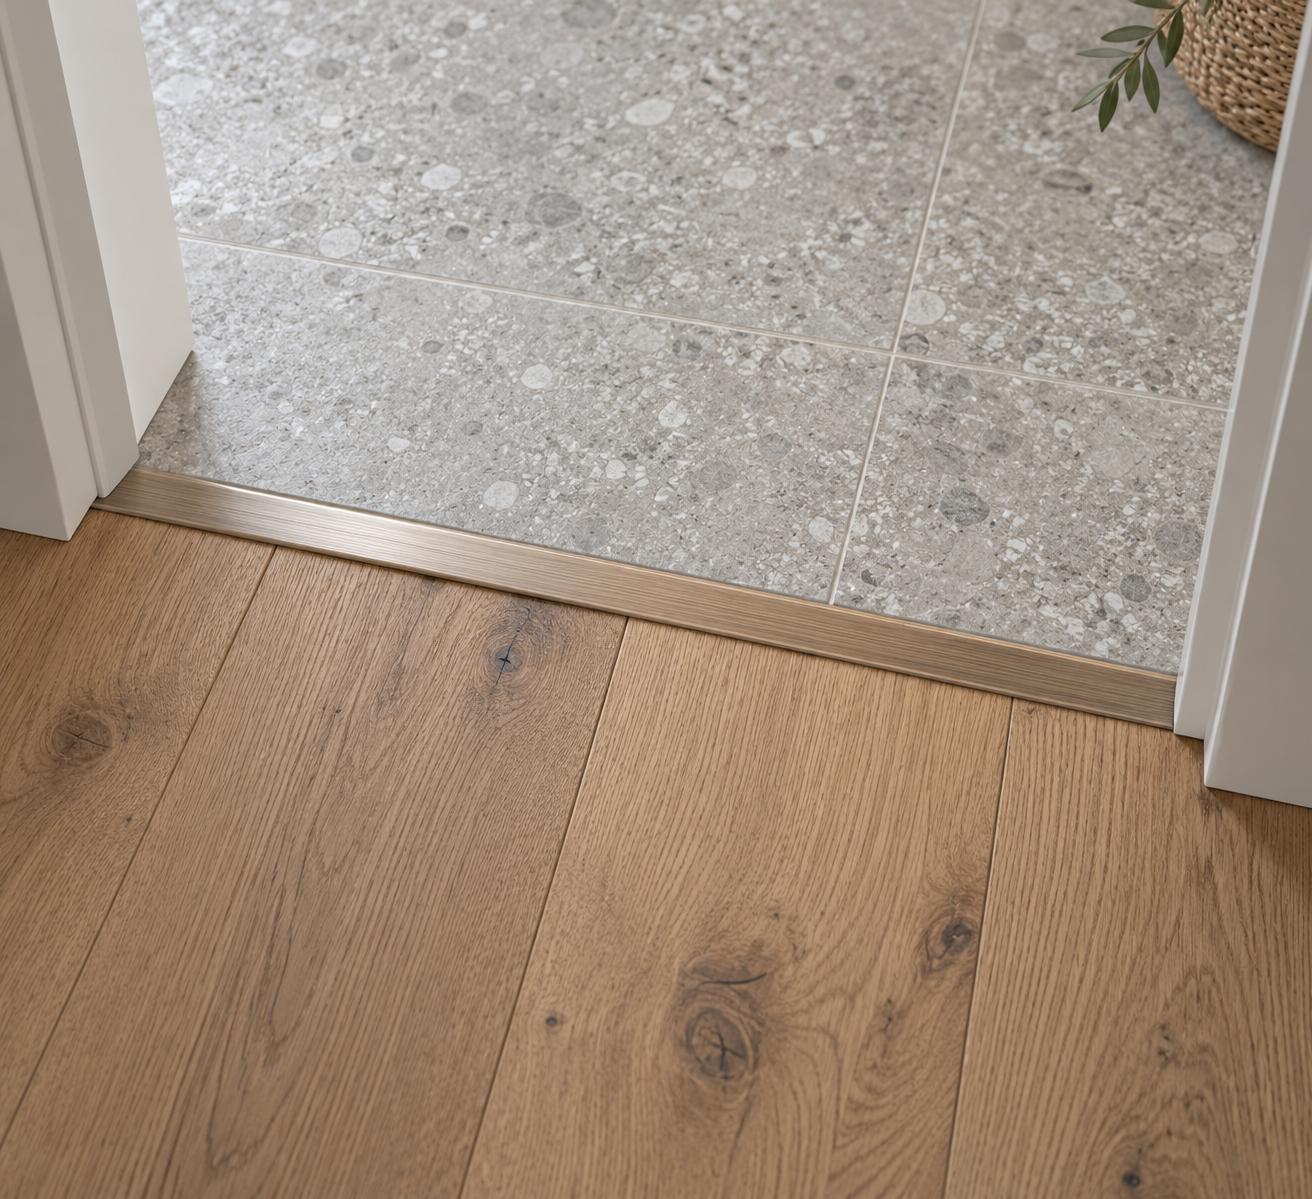
The skirting boards are then installed to conceal the expansion gap. They must be fixed to the wall, never to the parquet, so that the floor can expand and contract naturally. Threshold strips provide a neat transition between rooms or different floor coverings.
Frequently asked questions
Should the existing skirting boards be removed?
Yes, this is preferable for a clean finish. If this is not possible, cover skirting boards can be installed instead.
Can floating parquet be installed over tiles?
Yes, provided that the tiles are stable, clean and sufficiently level. A suitable underlay is still essential.
What thickness should I choose?
Floating flooring with a thickness of 8 to 12 mm generally provides greater comfort and better durability over time.
Can floating parquet be installed in a bathroom?
Standard floating parquet is not recommended for humid rooms. For a bathroom, choose a water-resistant floor covering, such as click vinyl or parquet specifically designed for use in humid areas.
How long does it take to install 20 m²?
For a straightforward room, installation generally takes one to two days, depending on experience, the number of cuts required and the finishing work involved.
.jpg)
.jpg)
Questions fréquentes
Faut-il retirer les anciennes plinthes ?
Oui, c’est préférable pour obtenir une finition propre. Si ce n’est pas possible, des plinthes de recouvrement peuvent être posées.
Peut-on poser un parquet flottant sur du carrelage ?
Oui, si le carrelage est stable, propre et bien plan. Une sous-couche adaptée reste indispensable.
Quelle épaisseur choisir ?
Un parquet flottant de 8 à 12 mm offre généralement un meilleur confort et une meilleure tenue dans le temps.
Peut-on poser un parquet flottant dans une salle de bains ?
Le parquet flottant classique est déconseillé dans les pièces humides. Pour une salle de bains, il faut choisir un revêtement compatible avec l’eau, comme un vinyle clipsable ou un parquet spécifiquement conçu pour les pièces humides.
Combien de temps faut-il pour poser 20 m² ?
Pour une pièce simple, il faut généralement compter entre une et deux journées, selon l’expérience, le nombre de découpes et les finitions à réaliser.
Discover how to install floating parquet flooring: subfloor preparation, underlay, expansion gaps and finishing touches in Belgium and Luxembourg.
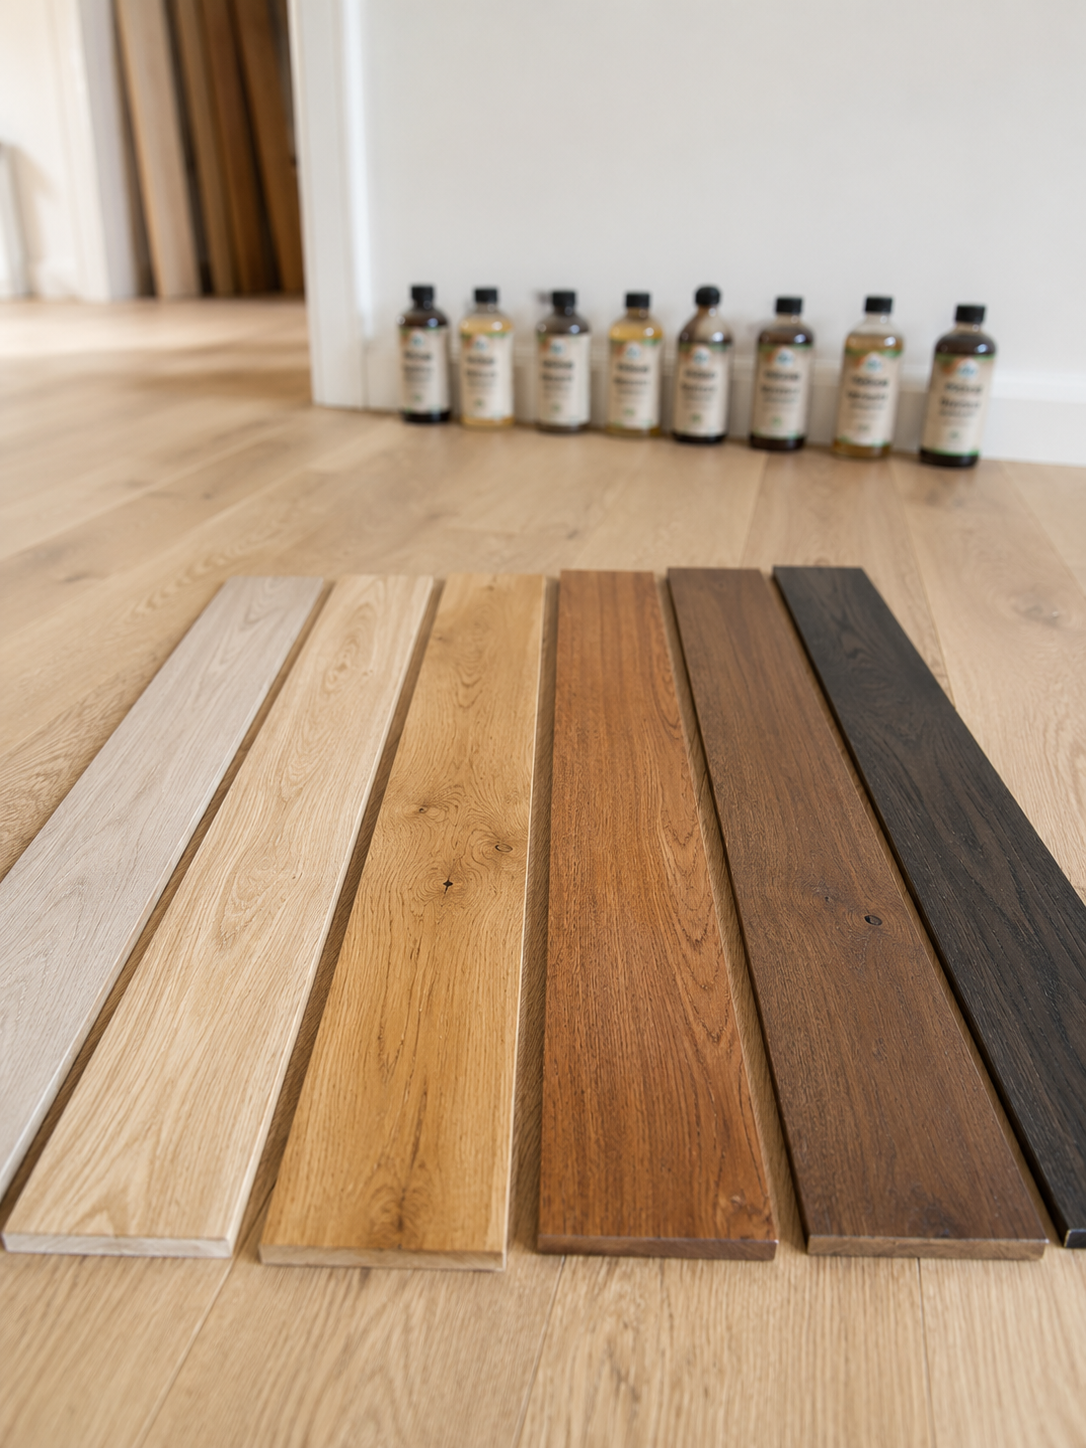
Choose the Right Shade for Your Parquet Flooring
Discover how to install floating parquet flooring: subfloor preparation, underlay, expansion gaps and finishing touches in Belgium and Luxembourg.
Interior Doors in Luxembourg: Materials and Installation
Solid wood, lacquered, glazed or sliding: discover how to choose the right interior doors in Luxembourg to suit your space, style and practical requirements.
.jpeg)
Hardwood Floor Care: Tips Based on the Type of Finish
The care of a hardwood floor depends primarily on its finish: lacquered, oiled, or waxed. Each type of hardwood floor requires specific products, techniques, and a specific maintenance schedule to prevent scratches, stains, and premature wear.